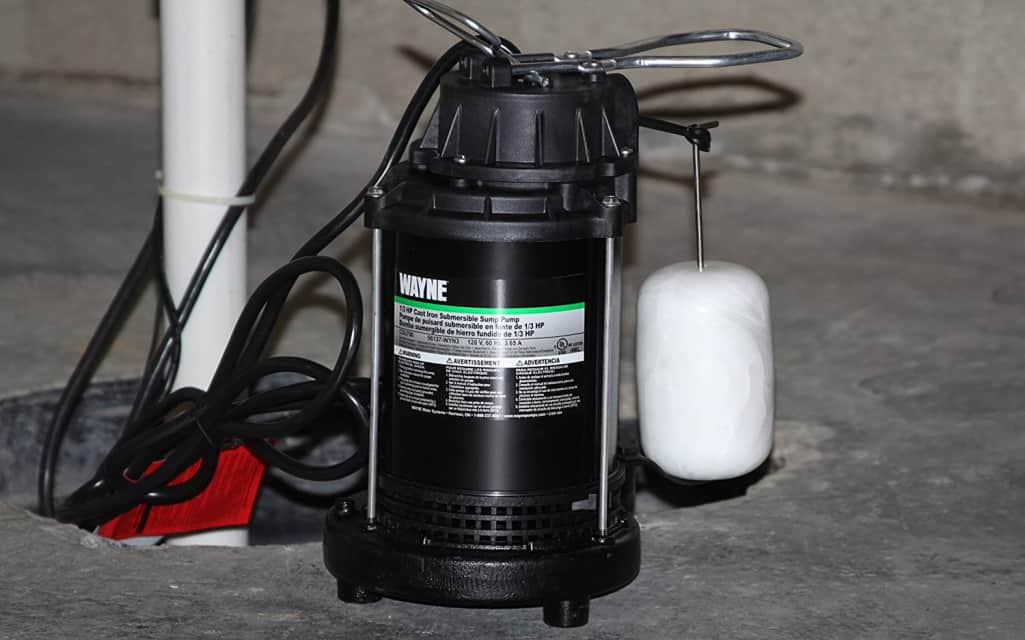
Do you still have a submerged basement even after installing a sump pump? Maybe the sump pump is not working correctly and may need fixing or replacement. Therefore, you need to know how to replace sump pumps.
If you do not replace your old pump now, your house will accumulate unwanted moisture and mold. You also stand to lose a lot of money on water and electricity bills. Do not forget the extent to which your home structure weakens.
To avoid all these problems, start shopping around for the best sump pumps. You can buy a pedestal or submersible pump, whichever is your preference.
Which Signs Show It Is Time to Replace Your Sump Pump?
Some signs will alert you that it is time to replace the sump pump. Look out for these signs. Sometimes you can repair or replace a few parts instead of buying a completely new pump. If the parts no longer function, then the signs below will tell you to buy a new pump.
1. Advanced age
Just like most other machines, the sump pump becomes less effective due to old age. A typical sump pump should work effectively for up to 10 years at most. After ten years, the sump pump needs to be replaced (even if some parts are still functioning well).
However, the shelf life of a sump pump depends on many factors. A sump pump may last a few years if:
- You purchased a poor quality device.
- You use it frequently.
- You use an unstable source of electricity.
- The pipe carrying water to discharge is too long.
2. Is the pump running too much?
A sump pump in good condition only runs too much during stormy weather or underground water is too much. It is time to replace the pump if it runs continuously, even when the basement is dry.
Sump pumps run too much when the check valve is broken, or switches clog. Too big or too small sump pumps may also run a lot.
3. Empty sump pit
Ideally, water should accumulate into the sump pit for drainage. If your sump pump seems to be running as usual, but there is no water in the pit, something is wrong somewhere. This can be due to improper installation or obsolesce. You can have the pump inspected by a water worker. Replace if the inspection shows nothing wrong.
4. Blocked/clogged pump and switch
Dirt, debris, animal parts, jammed, or tangled switches cause the pump to work slowly. The pump will slow down for some time and eventually break down. This problem is common if your sump pump does not have a lid.
5. When the sump pump loses power/power outages
Frequent power outages may end up breaking down your sump pump. The loss of power cab is because of storms. The pump can also lose power if it is unplugged if the circuit fuse is blown or the backup battery is depleted of its charge.
6. A lot of noise from the pump
Having used the sump pump for a long period, you should know when it produces irregular or disturbing sounds. Specifically watch out for grinding, rattling, or thuds. Most machines make sounds, but sounds that sound abnormal indicate a problem.
7. Not using the pump frequently
You need to test how effective the pump frequently works, especially during the summer season. Regular testing will help you know if the device has faults.
How to Replace Sump Pumps – A Step-By-Step Guide
Before doing anything else, read all the instructions and warnings in your new sump pump’s user manual.
Step one – remove the old sump pump
- Disconnect the check valve and all power cords
- Clean the sump pit to remove any debris that may have accumulated
- Find and cut the PVC pipe that leads to drainage using a hacksaw.
- Pull out the old sump pump
- Measure the length of the PVC pipe that you just cut
Step two – install the new sump pump
- Using measurements obtained above, cut a new PVC pipe.
- Place the pipe vertically alongside the pump and cut at a slightly higher point than the top of the pump.
- Using a male connector, place the new PVC pipe into the discharge of the pump. Ensure the pipe sticks firmly by applying white cement and letting it dry.
- Plug the pump cord into the float plug and in the outlet. Flip the float over and run the pump for a few seconds.
- Now place the pump in a bucket full of water and switch on the power cords. You should see that water flows out of the PVC pipe. If not, most likely, there are obstacles in the pipe.
- Gently place the new pump in the sump to a leveled surface. The new pump should have no obstructions, and the sides should not touch the sump walls.
- Do not place the sump pump directly on the earth.
- Attach the check valve to the tips of the pipe. The arrow indicator of the valve should face in the right direction.
- Attach the original PVC pipe to the end of the check valve.
Step three – test the new sump pump
- Pour a considerable amount of water into the sump pump.
- Watch to see how water draws from the pit and into the drainage.
Final Words
Congratulations, you have not only replaced the sump pump, but you have also done it properly.
Use this important guide to learn how to replace sump pumps on your own. Next time you need to replace an old sump pump; you will not call in a plumber. Remember to install a battery backup to double the power supply to your system in case of a power shortage.
Also, sump pump alarms are essential for alerting you when the water has reached a certain height or when the pump is not working.


