
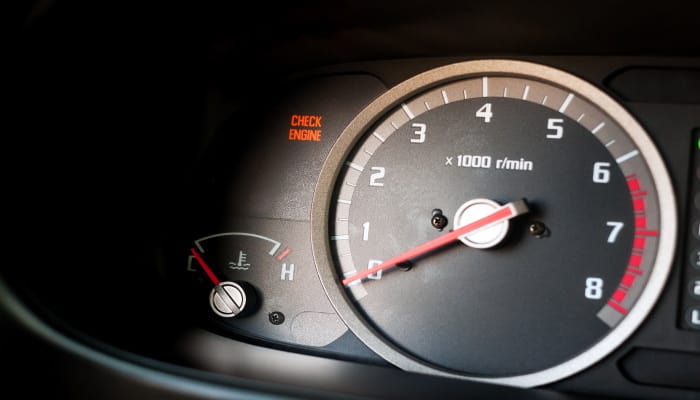
The check engine light turns on once there’s an issue with the emission control system or any computer-controlled system in your car. It’s important to note that the light produces a code that can help you narrow down the issue so you can take the necessary steps for repairs.
In some cases, though, you need to reset the light manually after the repairs if the code doesn’t clear automatically. The ideal way to reset the check engine light is to utilize a code scanner. Nevertheless, if your car has a manufacturing date before 1996, you can try out a simple method of disconnecting the battery to reset the light.
Remember that there are various reasons why your check engine light might turn on. The vehicle might have a poor oxygen sensor, faulty wiring, misfiring, and many more. There’s no specific answer, and you have to do some legwork to determine the root cause.
Resetting your check engine light is easy by trying out some of the tested techniques. Here are a few methods to help you reset the check engine light but the most common is to use an Onboard Diagnostic (OBD) scanner and disconnecting the battery.
Drive Your Vehicle And Allow The Light To Go Off On Its Own
The first and simplest method that you can use to reset the engine light is to drive your vehicle and allow it to rest for a while. The majority of onboard computers will reassess any potential issue responsible for the check engine light to trigger several times. Try to drive your vehicle as you typically do.
If the check engine light continues to shine after three days, it’s a sign that it didn’t resolve your vehicle problem, or you need to test out other methods to reset the light.
Turn The Vehicle On And Off Up To Three Times
Some vehicles automatically reset the trouble codes responsible for the initial error after turning on and off the car three times in a row. You can do this by inserting your car key into the ignition. Switch on your vehicle for up to a second and then turn off for a second. Make sure that you’ll repeat the process two or more times and drive your car usually. Inspect if this will reset the engine light.
Disconnect And Reconnect The Battery
The first step is to remove the negative cable from the battery of your vehicle. Access the battery by opening the hood of your vehicle. Next, utilize a wrench to remove the negative cable, which has a black cap with the minus sign mark from the terminal. Take note that disconnecting your vehicle’s battery will clear out the memory for your radio and other onboard components.
Drain any excess electricity from the capacitor. Press and continue holding the horn for 30 seconds, or you can switch on the lights. Neither the lights nor horn will work since there’s no power flowing to them, but doing so will utilize any leftover electricity in the capacitor.
Wait for 15 minutes and reconnect your battery. You must leave your battery disconnected for up to 15 minutes to ensure that the vehicle systems will fully reset once you reconnect the battery. Secure the negative cable properly to the terminal and cover it with the cap if applicable. Once you disconnect the battery, it’ll clear the error codes and reset the check engine light.
Using An OBD Code Reader
You need an OBD (Onboard Diagnostic) reader and a wrench for this method to reset the check engine light. It works by analyzing and clearing the engine codes. When using an OBD code reader, follow these steps:
- Insert the reader into the OBD port of your car. Generally, you can find this port on the lower side of the dashboard section, right above the footwell. In some car models, you have to detach the door on the fuse box to access the port.
- Once you connect the reader, press the ‘enter’ button to switch it on.
- The device will start scanning your engine for error codes. After it completes an assessment, the reader will showcase any error codes it discovers. You should note down the codes if you want to double-check them in the manual of the code reader or online.
- Press the ‘scroll’ button until you come across the option that allows you to delete the code. Press the enter button while currently in this option to delete the fault code and restart the check engine light.
When the OBD system restarts, which typically takes place after a few driving cycles or reaching a number of miles, there are instances in which the light will return. In such cases, it’s an indication that you weren’t able to fix the issue successfully.
Conclusion Whether you’ll manually reset the onboard computer by utilizing an OBD reader or resetting the battery, you might be able to fix the error successfully. You can use these methods to fix the check light error and other issues in the future in case they occur.


 scanner and disconnecting the battery.)