Glass shelves are an integral part of every house, especially the kitchen. Glass shelves add elegance and attractiveness to space they are fit in. Glass shelves serve multipurpose in commercial and domestic industries. Be it home, shop, showroom, etc. you will always find glass shelves in different forms. They are not only useful but aesthetically pleasing to the eyes as well. Hence, glass shelves are always safe and affordable than shelves made with different materials in the market, for the users.
Glass shelves are glass pieces that are available in different styles and designs in the industry. The glass is molded, processed, and designed in a way that it looks trendy yet saves flooring space. Glass shelves can be placed anywhere in the available place it gives plenty of flooring space that can be used to serve other purposes. If you a looking varieties of shelves and glass shelves replacement you can find here.
VARIETY OF SHELVES:
Glass shelves have various kinds, hence providing a variety of options for consumers to choose from. The different kinds of shelves are:
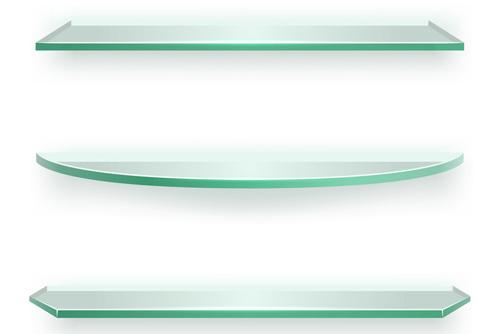
Clear Glass Shelf: Clear glass shelf is a shelf that is frameless and has a plain surface. It is simple and smart in its looks. This is easily available everywhere in the markets. You can install these anywhere without any hesitation.
Bent Glass Shelf: The shelves have a curve or bent in their making. These bent make them more stylish to cover the space.
Custom glass shelves: We all want to design and amend things according to our likings and wants. These custom glass shelves are those which you get made according to your requirements.
Kitchen glass shelves: Kitchen glass shelves are extremely purposeful for the people using the kitchen. It not only saves floor space but provides ample space for different items. Since glass shelves can be custom made hence, we can bring in use the little space which isn’t often positively used.
Bar glass shelves: We can conspicuously find bar glass shelves in every bar we visit.
These shelves complement the dark lightening of the area and create a pleasing effect for the visitors. Since, to store plenty of bottles we need enough space, these easily serve our purpose right.
Bathroom glass shelves: You do not have to worry about your bathroom having all your toiletries lying around in a miss. A simple bathroom shelf attached over a sink, or any place convenient for you will allow you to organize your space.
Bathroom-Corner-Shelf: Install a semi-circle to productively use your bathroom corners. You can put your toiletries or other related items in this creatively used space. It makes your corner look brighter and bigger.
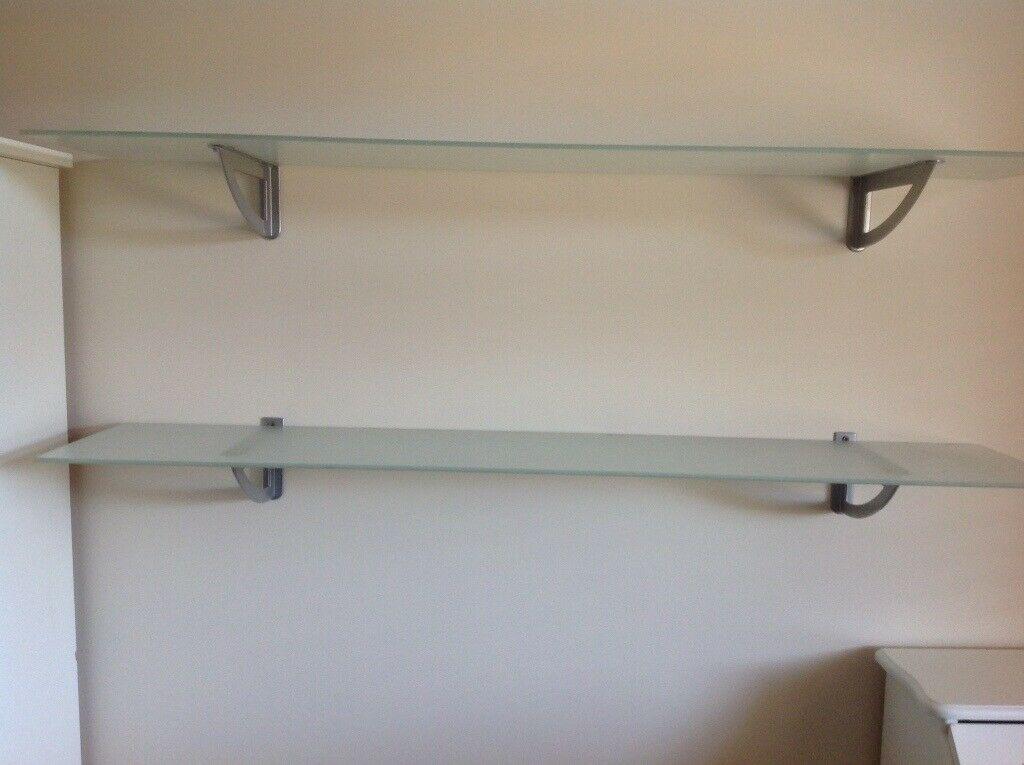
Floating glass shelves: these create a visual that the glass is floating in the air. It makes your room look trendy and chic. These have the ability to make a place look brighter and fight the darkness away.
HOW CAN WE MAKE GLASS SHELVES SAFE FOR OUR USE?
We cannot have glass shelves without glass edges. Edging is an essential part that every glass product should have. These glass edge treatments affect the overall performance, credibility, and functionality of the entire performance. They play a major role in improving safety, performance, and endurance level. The edging treatment prevents the edges from chipping off and advance the dimensional and holding the strength of the shelf. Some of the edging polishes available are:
SEAMED POLISH: is not recommended for decorative purposes. It leaves the edges rough and no-uniform. The fine finishing is missing in this method. It is used mainly for commercial purposes and for mirrors.
PENCIL POLISH: Pencil polish edges makes it possible for us to provide you shelves for decoration and aesthetics. There are many decorative house wall shelves that we can witness around us with these edges. These edges are round having a shiny and glossy finish. It gives a c-curve to the shelf, making it one of the most desirable edges.
There are flat polish and ogee polish glass shelves edge too which are professionals handle expertly. These help the glass shelves to stay firm, safe and maintain the finesse of the outlook.
SHOULD GLASS SHELVES BE THICK ENOUGH TO BE CALLED THICK?
Manufacturers maintain a certain thickness which varies from glass to glass and the function that one would take from them. The thickness of the Shelves’ glass that is made for commercial purposes ranges between 3/8-inch to 5/8-inch. This thickness holds moderately heavy items while maintaining a fair distance between those objects. You can also check more shelves of glass thickness here.
Glass shelves certainly need to have a certain calculated thickness which allows them to stay form when mounted. The thickness plays a key role in letting the property of durability and strength evolve in the glass shelves. The thickness matters as because of it the shelf’s weight carrying ability is measured. It also defines the delicacy and elegance of the shelf. The thickness may be 3/16″, 1/4″, 3/8″, and 1/2″. 1/4″ and 3/8″ are the two most common shelf thicknesses we sell. 1/4″ shelving is usually used for low-cost since thicker glass is costly.
DIFFERENT GLASS, DIFFERENT SHELVES:
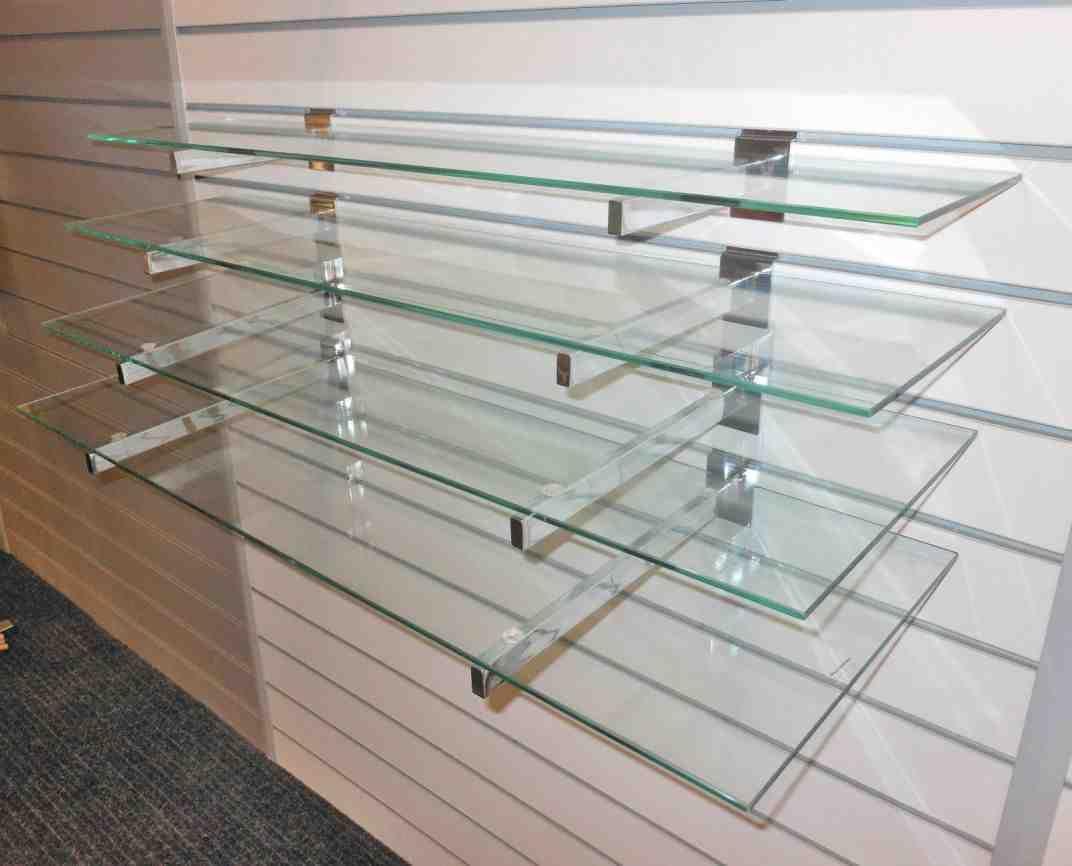
To think that shelves are made up of a simple and single glass is not correct. To produce different kinds of shelves there are various glasses available which make gorgeous shelves.
- Tempered Glass
- Clear Glass
- Bent Glass
- Frosted Glass
This range of glasses enables us to create all sorts of shelves and create commercial as well as beautiful decorative and wall mounted glass shelves.
DIY GLASS SHELVES INSTALLATION
If you want to make your room look bigger, brighter, and better then you should opt for floating glass shelves We all know how much our storage spaces acquire a place in our rooms and are easy to mount as well. They make the room congested and packed, hence to get rid of this situation you can easily mount a glass shelf on any of your room’s wall and let your room breathe a little.
It isn’t as difficult and time-consuming as you think. Your efficiency to understand the steps and following the correct method along with some easily available tools, mentioned below, is all you need to have while installing a glass shelf.
TOOLS:
The first and most important step is to have the right tools for the glass shelf installation process. These are easily available in our homes as well as in the markets. Make sure you have all of these before you start working or else you will have to run around in between which will disturb your adjustments and calculated markings.
- Glass shelf
- Measuring tape
- Drill
- Pencil
- Mounting template
- Wall saw
- Brackets
- Screwdriver
- Adhesive Caulking
STEP 1: PLAN CAREFULLY:

Do not start fixing your glass shelf without having a proper sketched plan with you. Your plan should have the mentioning of the type of glass you are installing, place of installation, measurements, and the style of the shelf.
Choose the type of glass wisely. For heavy objects, annealed glass is not suitable at all. Tempered glass is usually preferred over the regular glass as it is stronger and safe.
If you have children around then side floating glass shelf is the best option to have.
STEP 2: GLASS CUTTING:

This step is a little tricky and you might need custom cut glass from improvement stores in the market. Although, it is easier to cut glass than wood or steel at home, in case if you do not feel comfortable and fear to harm yourself then go for a safer option.
STEP 3: ACCURATE PLACING:

while installing a glass shelf placing matters the most. Mark the points where you will place your shelf before directly mounting the shelf.
If you have two or more shelves, then vertical and horizontal placement is preferable. Keep sufficient space for products while placing the shelves vertically.
STEP 4: FINALIZE YOUR MARKINGS:

Count every “c” important when you are finalizing your marking. You need to have accurate measurements before moving to the next step.
You might need to support your shelf with brackets depending on the style of it.
STEP 5: DRILL AND DRILL:
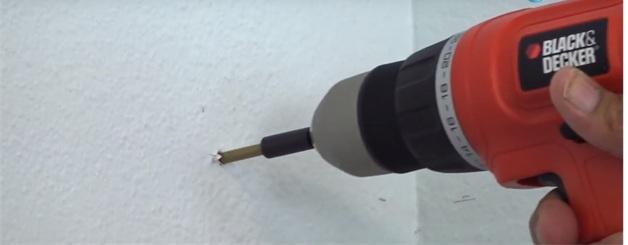
On the set, markings drill holes accordingly. Take precautions that no electrical wire is present behind the drilling spot. Do not harm yourself while drilling. If your shelf needs brackets, then drill accurately in which the screws fit properly.
STEP 6: FIX SHELVES:

Now, you can fix shelves at their place. If you are using brackets, then tighten the screws tightly and properly.
The last step is to add adhesive caulking in between the groves and sides of the shelf. Wait for it to dry. Do not put on weight before it dries.
Once you are sure to keep some weight and test the fixing of the shelf, and then add all the objects on it.
TO SUM UP
Glass shelves are useful to have around your house. They not only provide storage space but also enhance the beauty of the room. Their ability to make the place look brighter and bigger without occupying much space is what makes them everyone’s favorite. Glass shelves are easy to clean and handle in everyday life, therefore it can be preferred over wood and steel. You can install them yourselves whenever you feel the need to improve the interior and storage capacity of your surroundings.
