Besides mastering a truly successful DIY project, there are few things in life that bring you a similar joy. Especially when others notice your creations and show true interest in them. From organizing items to incredible gifts, and ornaments, there are some DIY projects which you can successfully pull off with the help of some simple tutorials and supplies you sometimes have around your home. Shoe boxes, an old muffin tray and ribbons. Below are some amazing DIY projects you should try this year.
1. Gold-accent pottery, for a tastier coffee
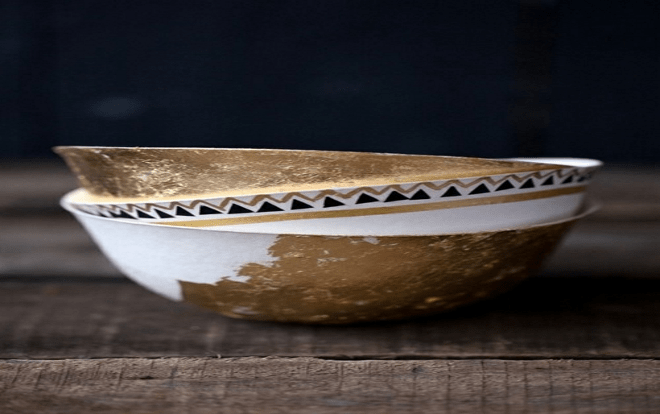 Coffee tastes the same from anything you drink it. But it’s always great to have a favourite mug from which to drink it on those lazy Sunday mornings. Also, what makes a better Instagram-worthy setup than a gold-accent cup of coffee, some throw pillows and an Ikea sheepskin? Well, a few other things, but you still need that gold-accent pottery in your life. If you have a set of basic white dishes, this is the perfect occasion to give those a fresh air and a little extra something. You can freehand your designs or use stencils, since everything seems to work amazingly with this type of project. But first, gather your supplies.
- Plain white mugs, condiment shakers, bowls, plates;
- Gold paint pen.
That’s mainly everything you will need to give your white dishes an instant and impressive makeover. Now you can start to freehand on your dishes small dots or hearts, small triangles or every design which you prefer. However, if you feel that your design has to be perfect (it doesn’t) you can print on adhesive paper a design at your preference, cut up the design, apply it on your dishes and then fill in with your gold paint pen the design. Simple and effective!
Make sure to set the paint on your dishes. After 24 hours of rest, bake your dishes in the oven, preheated at 350 degrees, for approximately 30 minutes.
You can use those yourself, or you can place those in some cardboards gift bags and gift those to your friends and family.
2. Shoebox organizers, for your “get organized” New Year’s resolution
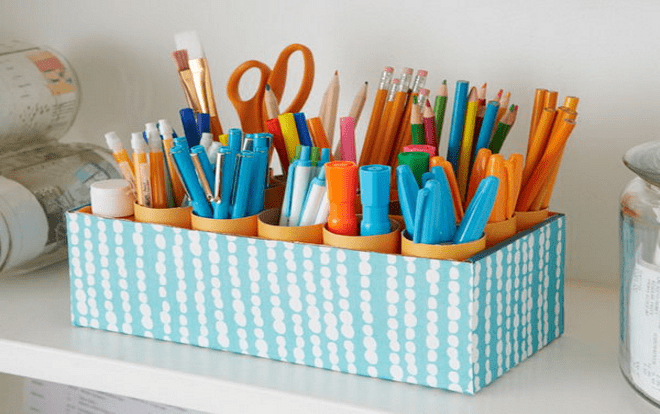 The basic rule for every handy person out there is “don’t throw away shoeboxes”. Or it should be. These apparently useless things that remain after our shopping adventures can be used in so many witty ways. And more specifically, to help you with your messiness problem. Gather all the shoeboxes that you have around and get to work. The supplies you’ll need depend on what you have around your home.
- Shoeboxes or moving boxes;
- Wrapping paper/fabric/leftover wallpaper;
- Regular glue (a bit old is better);
- A foam brush;
- Scissors;
- A pencil;
- A ruler.
A total of six supplies which you most likely have around your home already.
On the back of your wrapping paper, trace the outline of your boxes (by using the pencil and ruler), then measure and mark the height of your boxes. To that, add in each direction half of your shoebox height since you’ll have to fold some of your fabric or wrapping paper inside the shoebox. Do the same for your shoebox’s top, as you’ll need to beautify that as well. You can choose a similar fabric/paper for the two, or for a bigger visual impact, different patterns. Then cut your paper into the full dimensions, apply glue to the box, and then start folding the paper/fabric. Let dry and start stashing your necessities inside: makeup, DIY supplies, whatever that fits inside and haven’t found a place for.
3. An unusual Easter Egg display, just to show off your skills
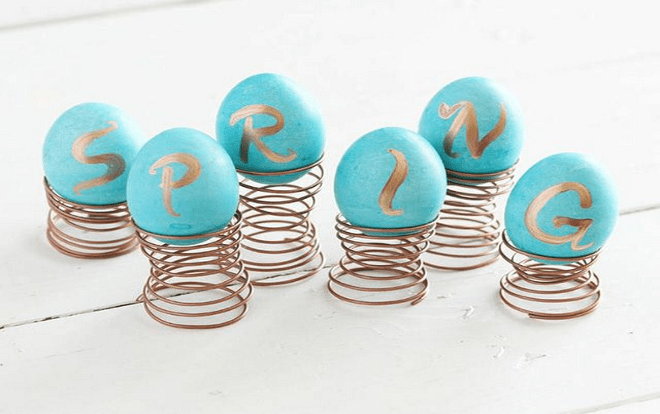 If you’re already tired of your traditional egg holders and you’re searching for an unusual approach for this Easter, we have some ideas for you. For this project, you will need some simple supplies.
- 12-gauge steel wire – you can find that at your local supply store;
- A pair of wire cutters;
- Copper spray paint;
- Primer for the copper spray paint (optional);
- Dyed eggs, to finish off your setup.
First, make sure to cut your steel wire into a 30 cm piece, tape one end of the wire on your spray can and then start to wrap the rest of your wire tightly on the can. This will result in a spring shape.
Remove the spring from the can and adjust in in length. If your spring is too tall, the egg will topple over. If you want, create springs in various heights for a bigger visual impact.
Twist the spring in opposite directions from both ends. This will cause the middle section to become narrower.
Lightly spray your springs with primer (optional). After the primer dries, apply a light coat of copper paint. The coat should be thin enough to dry fast and evenly. Otherwise, when you remove the spring from the painting surface, the paint will most probably peel off. You want to avoid this.
Arrange the eggs on your newly made egg display after the paint completely dries off.
4. Wine bottle DIY led lamp
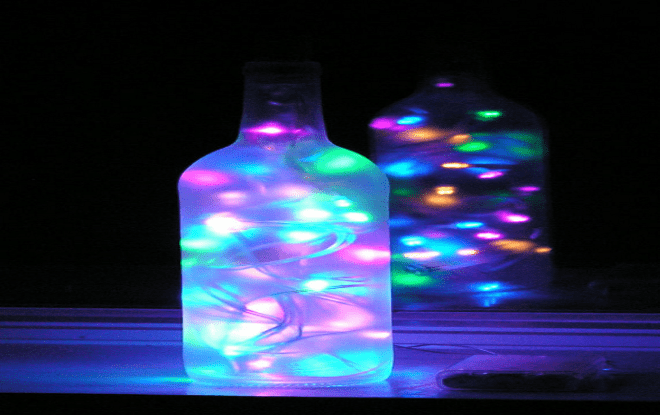 More than certainly, you have some spare bottle of wine at home. If so, you can put those to work and create some amazing DIY led lamps and beautify your home – on a budget. If you have to drink the wine before your DIY project, better wait until the next day. Safety concerns. After doing so, gather the supplies.
- Wine bottle – empty;
- A drill;
- A glass-cutting drill bit;
- Led lights.
Drill a hole into your bottle as closely as possible to the bottle bottom. Not too close, as it may break. Make sure to measure the girth of you led installation cable since you’ll need to pull that out of your bottle. While drilling your hole, it’s always important to keep the drill cool by periodically dipping it into cold water. After drilling the hole, insert your led installation inside the bottle, pull out the installation plug and enjoy your new lamp.
5. Gold accent succulent pots
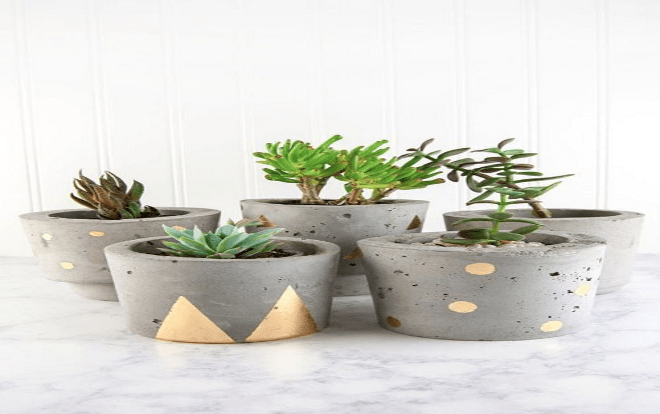 Since we mentioned how amazing gold-accent dishes can look, you could try to do the same with some flower pots. After you accomplish the gold-accent part, plant some succulents. This is it. It will last a few minutes to accomplish and you will have a visually pleasant item in your home. Place them on your dinner table or office desk.

