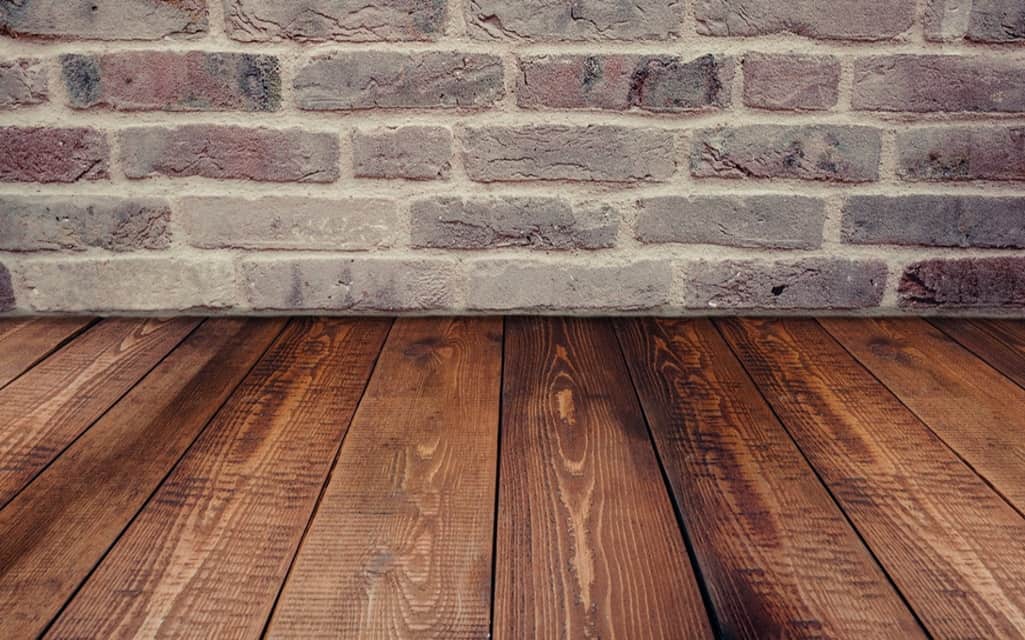
Reclaimed wood flooring is generally stronger and longer-lasting than traditional wood flooring. There is also a depth and unique character to reclaimed wood that is not found in traditional wood flooring. While having a professional install your reclaimed wood flooring is always an option, you do have the option of installing the wood yourself. It is a two-day job that involves a variety of materials and tools, including a pry bar, measuring tape, ear protection, drill bits, staple gun, variable speed drill, hammer, table saw, chop saw, chalk line, safety goggles, nail set, vapor barrier paper and wood putty. All these tools will help you install your reclaimed wood flooring. Here is our DIY reclaimed wood flooring installation guide.
Measure the Area:
Start by measuring the area you want to put flooring on. Measure with a measuring tape. Multiply the inches that you got with square feet to convert to the conventional flooring unit. Always remember to add 20 percent extra for creaks and irregular nooks and corners and for the skirts if you are doing them as well.
Select an Installation Method for Your Reclaimed Wood Flooring:
The installation method you choose will depend on your expertise and budget. It is important to consider your options before you decide. The decision you make will impact your budget, and the outcome may differ from your original intention. There are three installation methods for you to choose from:
Adhesive Installation: People who are installing their own reclaimed wood flooring often use this method. In this method, the panels of wood are secured together using glue.
Click Lock Flooring: With click lock flooring, the blocks of wood are made so that you can simply lock them and click them together. They are easy to install and reinstall because you do not have to spend much time scraping them off.
Nailing Down: If you are looking for a permanent flooring solution, then nail-down installation is for you. While it is technical and time-consuming, it is also the most permanent installation method. This method has a prerequisite of having a wooden floor under the floor so you are able to nail for a base. If you are short on time and have a limited budget, then nail-down installation is something you should avoid at all costs.
Prepping for a New Floor:
After choosing an installation method, prepare your area for installation. Remove all the existing baseboards from your area. Make sure the surface you are working on is smooth and all leveled up. Use techniques like buffing so you have a clear canvas to work with. Slather the floor with a moisture inhibitor. This step will save your floor in the future and protect against fungus in case of damp seasons.
Installation:
Lay down the wood planks per your selected installation method. For the glue-down method, you are going to need a good adhesive. You should start by rubbing down the planks with a towel. Do not push the wood panels too hard as it might make the glue squeeze out of the edges. Be patient with this method as it can take a lot of time to dry.
Read More: How to clean your hardwood floor with steam cleaner
For the nail-down method, plot the holes and mark them on the base wood subfloor before putting down actual wood. Measure the panels and see where you are going to nail them. You have to nail the boards at a slanting angle of 45 degrees on the edge of each wood panel. This will leave enough room for other wood panels to set.
Floors add an extra layer of dimension to your room. As you install reclaimed wood floors around your house, you will see how new life will come into your house.


